It's been a while since my last entry on make up tutorial thingy, and this time I'm sharing out about
Contour and highlight
As well as
Day to night make up
Let's get started!
Always start with a clean fresh face, moisturized it and leave it for couple of minutes until the moisturizer absorb well in our skin.
Then start with concealing and foundation to prime our face up.
Note:
Whenever we want to do any contouring on our face..
do apply a thicker layer for the foundation, because we gonna need to do the blending process.
You might start asking, why we do contouring and highlight?
Why don't we skip this step and continue the regime?
Yes! you may skip this step if you satisfy with your face feature,
because contouring helps to tone down the part of our face that we don't want people to notice.
Let say, you have a chubby round cheek and super round face..
and I believe all the ladies in some way or another we want to look slimmer, leaner,
and of course we want to looks good.
Here comes the role of the contouring, we contour the chubby area to create shadow
and when it comes to "shadow", it becomes less noticeable.
And to the area that we want people to notice, we put highlights in contradict.
When we finish doing contour and highlight on our face, you will see some dimension on the face.
So next question?
How to find the right color for your contour and highlight?
Easy!
Contour = shadow = darker
Highlight = shine = lighter
For this tutorial, I'm using the most two extreme colors on my Kryolan camuflage foundation pallette.
If you don't have this pallette, don't worry..use a darker foundation that goes 2-3 shades darker than your skin for the contour and a highlighter cream for the highlight.
For my face, I have a very strong cheekbone on my left side of face
and a slightly rounder on the right side. And I like to look a bit slimmer on my face, so here how I contour my face.
Start at point A (center part of your ear), draw a line to point B,
and stop at the meeting point of C ( corner of your eyes) and B, and from there draw a line towards your chin and fill up with few stroke of the contour cream on the yellow line.
This line will create a slimmer dimension on my face and a high cheekbone effect.
As for the eyes and nose part,
I put quite a thick layer on the eyes as I want it to visible as a eyeshadow for my make up
and slightly thin layer on the nose bridge area.
Use sponge to blend it.
Blend. Do not Rub.

When you done with the blending, you will have this kind of dirty effect on your face.
Leave it.
Move on to the highlight.
Think butterfly.
Draw butterfly on your face.
And blend it well.
Once we done with the blending,
check again on the part that we want to contour more or highlight more.
If it's ok, put a thin translucent powder and dab it all over your face.
And Bye-bye glossy face. Matte finishing is what you got.
We are done with the basic steps.
For the today day look, I want to keep it as simple as possible.
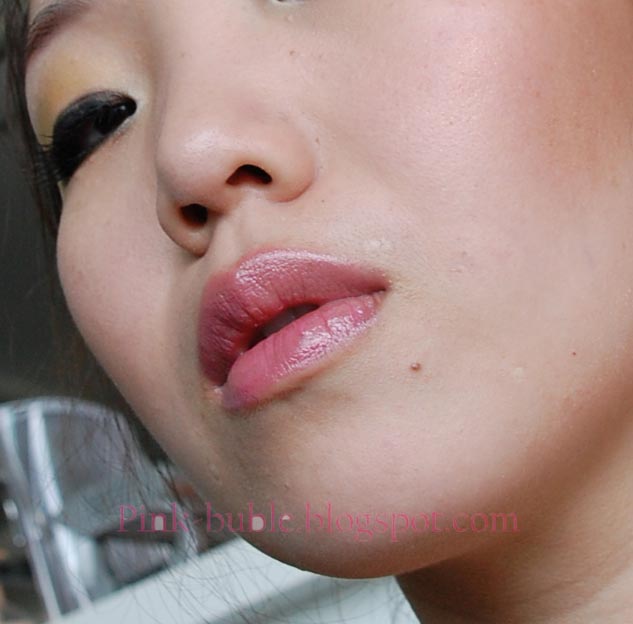
Fake lashes, soft blush on the cheek and pink lipstick.
No eyeliner.
*always trim your eyebrow neat*
And you're done with Day look.
Go hang out and have fun with your girlfriends or even date with your loved one.
*Poto Narsis*
.
.
.
.
Sometimes, we need to attend some wedding party at night
and you just don't have the time to go to Salon or even Re-do your make up.
Always keep eyeliner in your little make up pouch.
And Night look is only 2 lines away!
All you need is black eyeliner and darker shade of solid color lipstick
or maybe red if you feel comfortable with it.
Off you go!
I hope you like this tutorial ^^
Till' next tutorial..
Taaa..


